Installation |
  
|
Installation |
|
The eXite® webIT client 2006 is installed using a setup program.
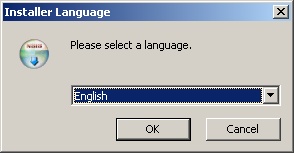
1. First you have to select the language you want to use the eXite® webIT client with.
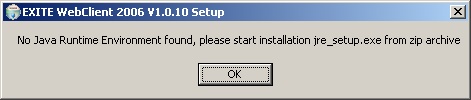
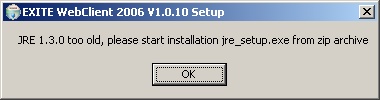
2. Then it checks if the required JRE is available.
3. After this, the installer checks, if there's already a webIT Client installed and running.
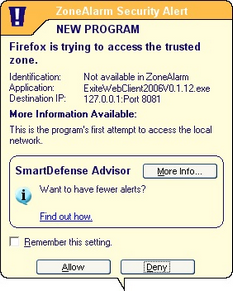
Accept the first Firewall-Message by clicking on Allow. |
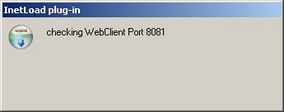
Check, if a webIT client is already running |
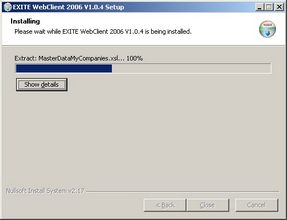
After this the actual installation starts.
License |
Components |
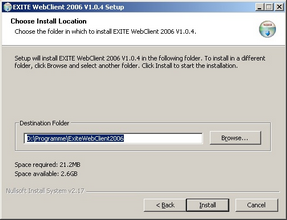
Path |
Installation |
|
|
|
|
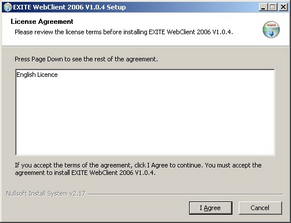
Before you install the webIT client, you have to accept the license it is distributed under. |
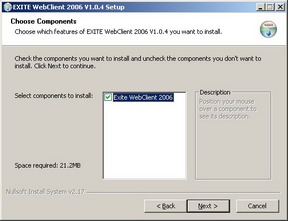
After this you chose the components that should be installed. |
On the following page you can chose the directory the webIT client shall be installed to. |
After this, the installation of the webIT client starts. |